Gluten Free Pumpkin Bars with Coconut Cream Frosting (GF, DF)
FYI: Some of these links are Amazon affiliate links. What this means is that by buying through these links, Amazon gives me a small commission, paid by third parties, not by you. I only recommend products that I genuinely love. Thank you for supporting my page

I hope you guys never tire of fall baking and pumpkin like I never do. Seriously, DON’T even dare take away the pumpkin!!!!! I honestly just love incorporating pumpkin into anything and everything this time of year. It’s so versatile, tasty and nourishing! We add it to smoothies and oatmeal on the regular around here.
But enough about that.
OH MY GOSH, you guys! These Paleo Pumpkin Bars with Coconut Cream Frosting are literally to die for. If you could bottle up fall into one little tiny square of deliciousness and savor it forever, these bars would do exactly that for you.
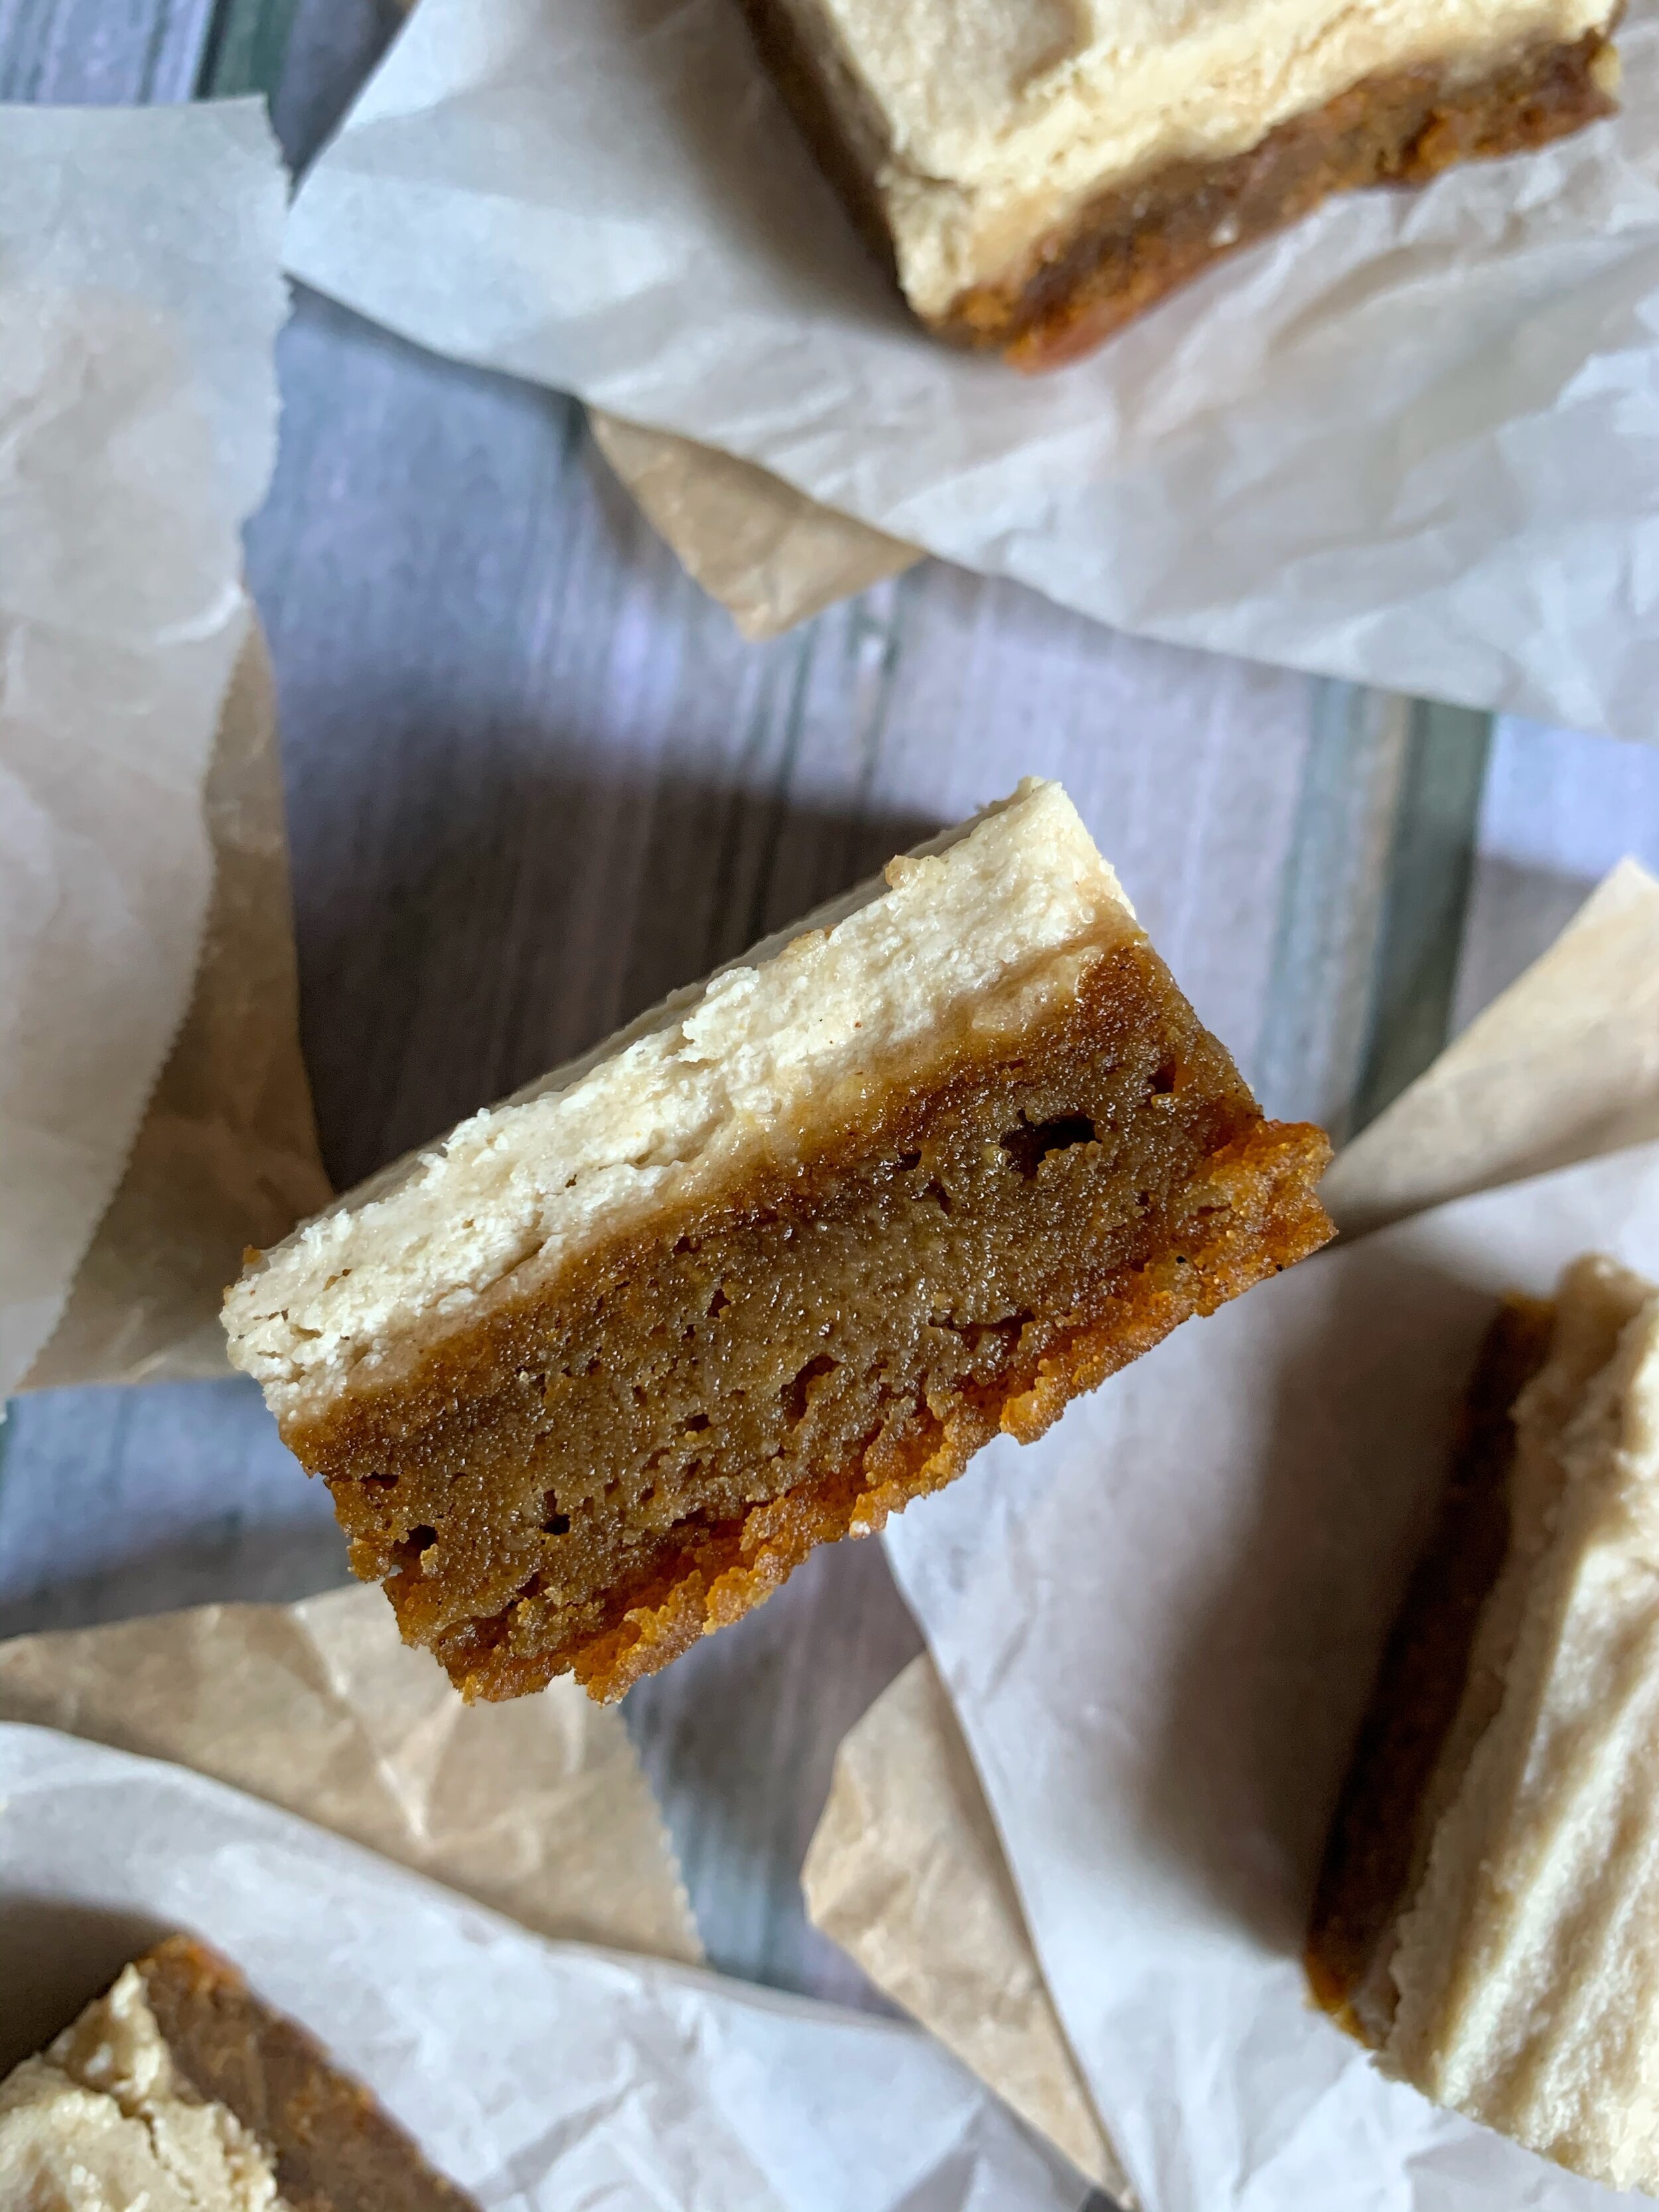
They’re gooey, moiste and oh so satisfying. Not to mention they’re literally the most perfect addition to any Thanksgiving spread.

I love scouring the internet for pumpkin baking recipes this time of year but since we’re pretty much totally gluten-free in our household, most recipes I find I have to adapt to my liking (and what ingredients I have on hand). As far as gluten free baking goes, my favorite flours to work with are almond flour and cassava flour and I almost always have some sort of nut butter on hand too. I haven’t had much luck baking with coconut flour and have given up on it mostly at this point.
Adding nut butter (almond is my favorite) into baking recipes give baked goods that delightful moistness and also adds in a good source of healthy fat to balance out all that sugar.
So about these bars. They would be good enough with just the base/crust part, but add on the thick layer of coconut cream and they’re A M A Z I N G.
You’ll love them, your kids will obviously love them, your husband might eat all of them in one sitting and you won’t even realize they’re gluten and dairy free!
Not to mention guilt-free. I think it might take me eating the entire pan before I started to feel guilty about eating too many of these little squares because they are filled with wholesome, real food, ingredients.
So get on your baking mits, turn on that oven, grab some pumpkin puree and let’s get to baking!! This is a great fall recipe to make with your kiddos (mine always like to make the frosting with me.)
Speaking of frosting, I should probably add this coconut cream frosting to my recipe list one day because it definitely deserves its own spot in all its simple glory, so stay tuned for that friends.
Happy Thanksgiving guys! Here’s how to make them:
INGREDIENTS:
For the Crust:
2 + 1/3 cup almond flour
1/2 tsp baking soda
1 tsp baking powder
pinch of sea salt
1 cup coconut sugar
2 scoops grass-fed collagen peptides (I use this brand)
1/2 tsp pumpkin spice spice
1/2 tsp cinnamon
1/2 cup almond butter (warmed breifly in the microwave)
1 cup pumpkin purée
3 tbsp ghee or butter (room temperature)
For the frosting:
13–14 oz coconut cream (cream NOT milk works best).
1/4-1/3 cup sweetener of choice (ex: agave, maple syrup or honey)
1 tsp vanilla
3 tsp ghee

Instructions:
For the pumpkin base/crust:
Line an 8x8 baking dish with parchment paper and set the oven for 350 degrees.
Add all the dry ingredients into a bowl and mix well - almond flour, baking soda, baking powder, collagen, cinnamon, pumpkin pie spice, salt, coconut sugar.
Microwave your almond butter for about 30 seconds to soften it up a bit.
In a separate bowl, combine the room temperature ghee, the pumpkin puree and the almond buter and blend until smoothe.
Add the dry ingredients into the wet ingredients and mix thooroughly until all the ingredients are combined.
Pour your mixture in to the prepared pan, spread it out evenly to form a flat rectangle and place in the oven for about 30-35 minutes, until the center is set.
Allow the base/crust to cool for about 15 minutes and then place it in the refrigerator while you prepare your frosting.
For the coconut cream frosting:
**Make sure your coconut cream can is chilled 24 hrs and you have coconut cream not milk. When you refrigerate the can(s), the coconut cream (fat) will settle at the top and you can pour out the milk to use in a smoothie or another recipe at another time.
Once chilled pour the hardened cream mixture into a bowl. Discard the water portion.
Add your sweetener and vanilla beat with an electric beater until fluffy and smooth (this will take several minutes).
Keep cool until ready to top on your dessert.
When you’re ready and the bars are completey cool, cover them with the frosting and place them back into the refrigerator or freezer for about 10 minutes before cutting and serving.
Enjoy!