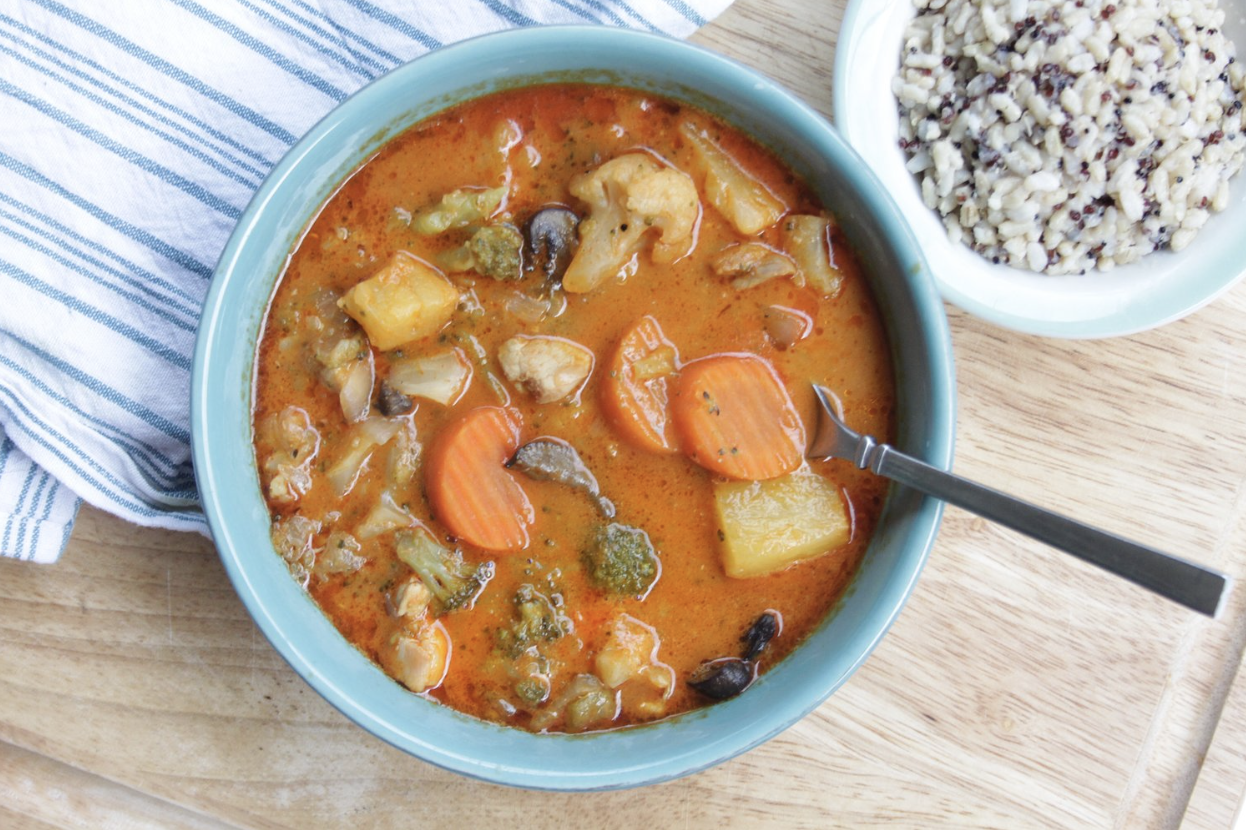
Thai Style Chicken Vegetable Curry (Gluten-free, Dairy free, Paleo)
If I had to pick one of my favorite moments of all time, I might just have to choose the time I went to Chaing Mai Thailand with just me and my hubs (pre having kids) and got to spend all day with a Thai chef, learning how to cook Thai food.
Seriously a foodies dream come true.
We got to first shop for fresh produce (including a visit to a local stand that made fresh coconut milk right before our eyes) and then got to cook three traditional Thai dishes from start to finish. The best part was getting to eat them afterwards.
Red curry was always a favorite of mine but it became extra special after this moment. As soon as I got home from our trip, I started to recreated this traditional Thai dish in my own kitchen and I haven’t stopped since.
My husband and I are both obsessed with this meal, and my two year old daughter gobbles it up too. My son - not so much a big fan of spice. It can be tricky trying to enjoy different types of foods with kids who are learning to appreciate different textures and flavors. I shared the other day on Instagram about how kids need to feel comfortable with foods solo before they will like them/accept them as a mix with lots of other foods.
This applies to casseroles, lasagna, soups, rice bowls, etc (anything with suspicious unknowns in the mix)
So when I serve it to my kids I take into consideration whose eating it and which one of my kids would be less intimidated if I separated the foods out into individual compartments aka deconstructing the meal.
Here’s how I serve it two ways to my two year old and my five year old.

Anyways, I want to get right down to business and share one of my all time favorite meals with you all because I love you, that’s why.
Im guessing you are a fan of spice like me if you decided to read this far but in all reality, this dish isn’t super super spicy. “Medium spice” I would call it.
And of course, you can always kick it up (or down) a notch just by adding more or less curry paste.
Here’s how I make it.
Serves: 6-8 people
Cooking Time: 1 hour
*Affiliate links below
INGREDIENTS:
2 packs organic chicken thighs (skin and bone removed)
2 cans organic full fat coconut milk
1 + 1/2 jar of Thai Kitchen Red Curry Paste
1 medium yellow onion, roughly chopped
1 pack of portobello mushrooms, roughly chopped
1 pack frozen broccoli & 1 pack frozen cauliflower (alternatively you can use 1 larger bag of frozen mixed veggies)
2 cups of fresh or frozen pineapple
2 tbsp coconut oil
1 32-oz container of chicken broth (I like this free-range brand by Pacific Foods)
2-3 tsp curry powder
2 tsp onion powder
2 tbsp agave
salt and pepper to taste
1 cup rice or quinoa to serve over
INSTRUCTIONS:
Prepare your rice or quinoa ahead of time so that when the curry is ready, you can pour it over.
In a large stainless steel or ceramic pot, bring coconut oil to medium heat. Add the chicken thighs and par cook them each, about 3 minutes, flipping to brown each side a bit. Remove chicken onto a cutting board.
In the remaining oil (you can add a bit more if the pot is lacking) add the onions first and then the mushrooms and cook until they are soft (about 7 minutes). While the onions and mushrooms cook, go ahead and cut your chicken thighs into about 1 + 1/2 inch strips.
Remove onto a separate plate.
In the pot, add 1 full jar + 1/2 of another jar of the red curry paste (or more or less depending on how spicy you want it to be) plus the white fatty part of the coconut milk over medium heat. Stir the coconut fat and the curry paste together while it heats up and begins to combine together.
Once it combines, you can pour the rest of the coconut milk into the pot and bring to a medium heat.
At this time, add the chicken broth, the onions and mushrooms, the veggies and the chicken. You can add the salt and pepper, onion powder, agave and curry powder at this time too. It will take some time to bring to a boil. Stir well.
Once it begins to boil, lower the heat to a gentle simmer and cover with a lid. Cook on low heat for about 30-40 minutes. Add the pineapple chunks to top it off.
It tastes best when it is allowed to rest for about 10 minutes before serving. Serve over your favorite rice or grain.
If you make this kitchen favorite of mine, comment below and tell me what you think!
Any of the products on this page may be an affiliate link. If you click on an affiliate link and make a purchase within a specific amount of time, I get a small commission. The commission is paid by third parties, not by you. I only recommend products that I genuinely love. Thank you for your support!